Winged Liner Tips
10:43 AMI don't know what happened. One day I was almost an expert at winger liner, and the next that expertise was just... gone. I'm relearning the do's and don'ts of winged liner and I thought I'd share some tips that I've picked up both times around.
- Practice makes perfect. Seriously. No videos or blogposts or tutorials can be perfectly tailored to you, as your eyes won't be the same shape and dimension as the person making the video. You could even get a cheap liner (maybe the $1 e.l.f. one) just for practicing with!
- Variance helps. You might think winger liner looks terrible on you, but trust me - winged liner looks great on everybody. You just have to get your shape right. Do you want a sharper angle? A longer wing? Thicker? Thinner? Try out a bunch of shapes, angles, thicknesses, etc. You won't know what looks great until you try it.
- Powder beforehand - if you want. I find that it really helps to take some eyeshadow and an angled brush and stamp out the shape of the wing before you fill it in. It's not only significantly easier, but much more forgiving because you can go and redo the stamped shape easily.
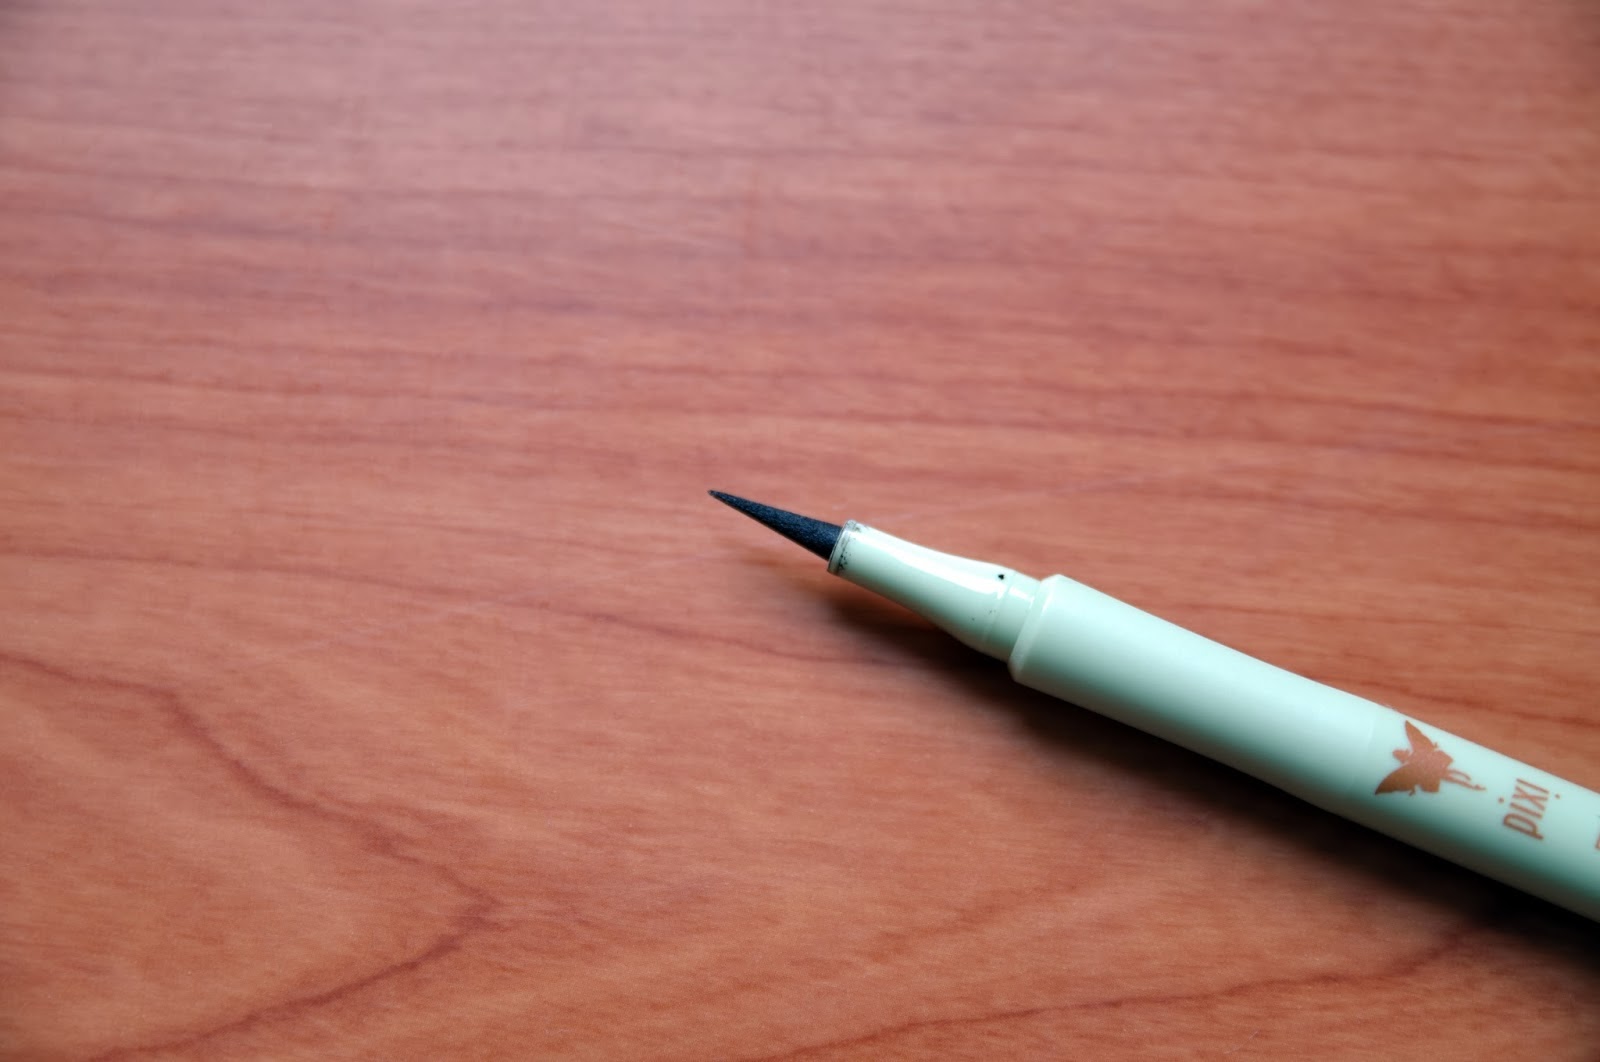
- Try different liner types. Winged liner can be done with pencil, powder, and gel along with liquid, don't forget that. Not to mention the different types of liquid - felt tip, brush tip, etc. Give them all a try and see what you're most comfortable with!
- Winged liner can be a statement or a staple, depending on how you do the rest of your makeup.
- Keep some eye cream and cotton swabs around. If you make a mistake, dab a bit of eye cream onto the sore spot and gently rub away with a cotton swab. This is much gentler than a makeup remover and don't disturb the rest of your makeup.


0 comments